Down on the Allotment

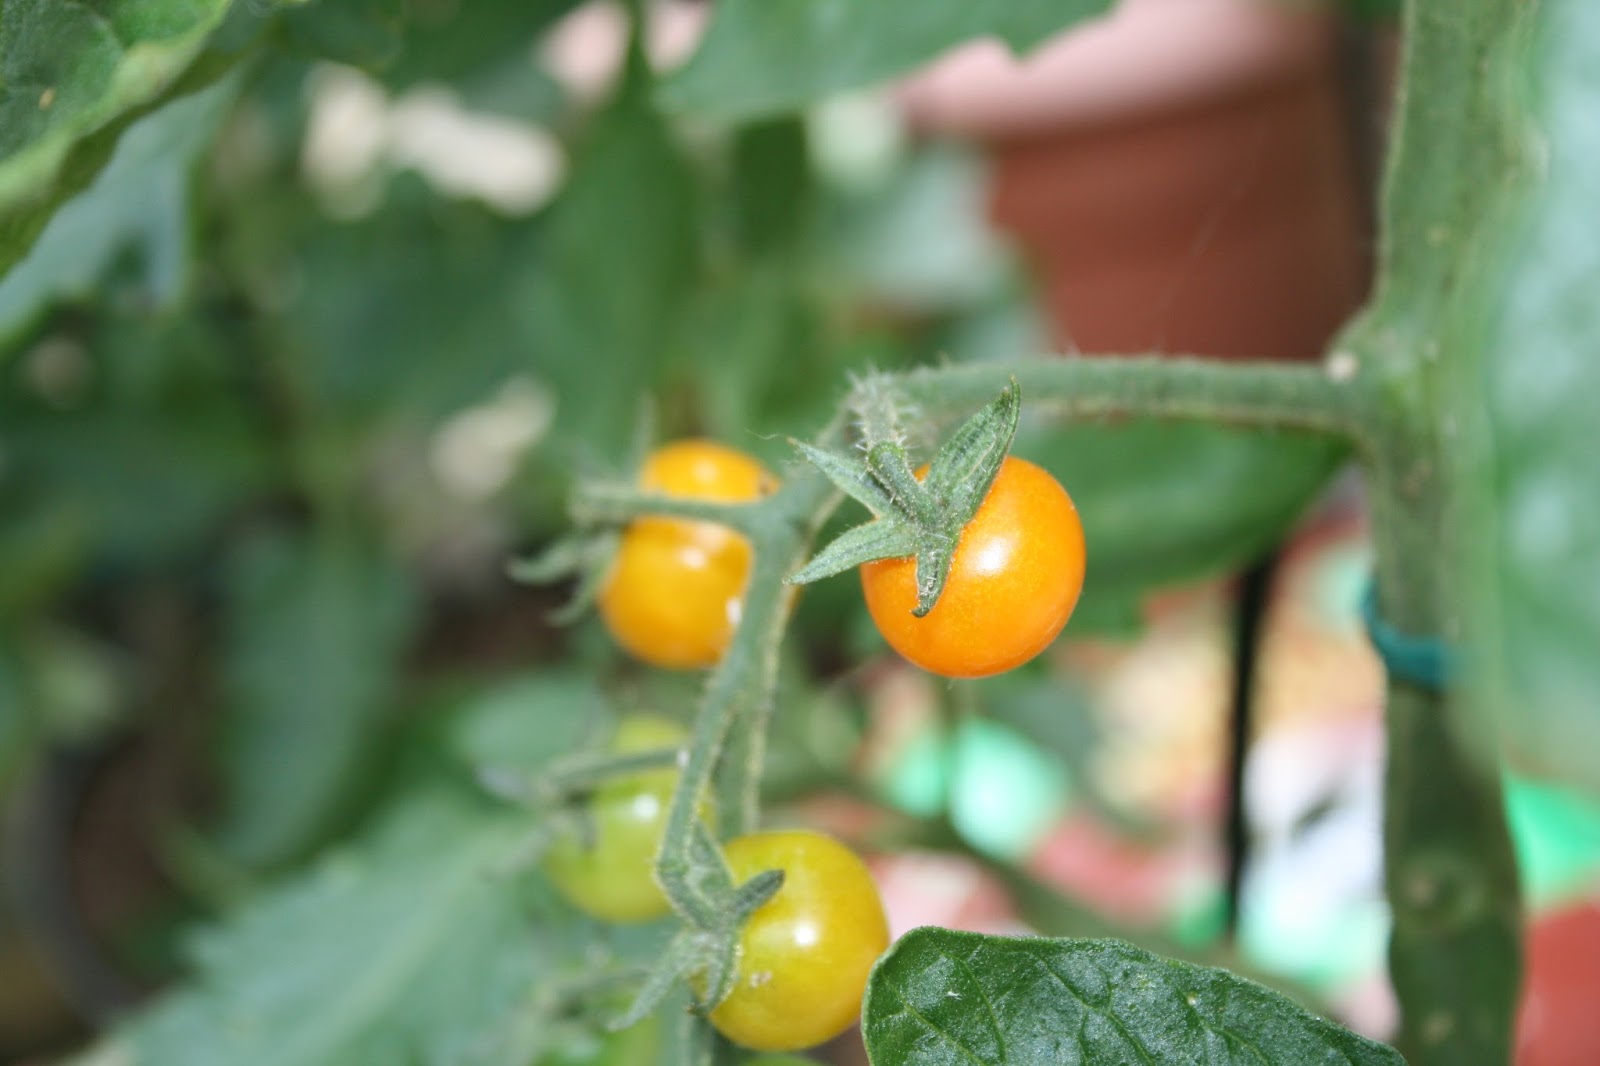
Matron grows vegetables and fruit in a Hampshire garden. I've been growing veggies since I was knee high to a grasshopper. Some traditional varieties and old favourites as well as new ideas. I share my garden with my allotment assistant Daisy the Labrador. On Twitter as @MatronsVeggies

Tuesday, June 27, 2017

How to Pickle Walnuts Part 3

 This is quite a long process but let's see if it is worth the effort.   So these green walnuts have been in brine for 2 weeks now.  Brine was changed once a week ago.  Drain the walnuts and lay them out on a tray.
 They should be air dried in a warm place for 3 to 5 days until they are completely dry and have turned black.  The irony is now, that in the UK we have just had a week of amazing sunshine and heat - which is now gone as heavy rain is expected later today for a few days.  I will have to find somewhere where the mice (or Labradors) don't get at them.  Perhaps the airing cupboard.
Do still be careful when handling the walnuts, the juice will stain badly so please wear gloves.

Wednesday, June 21, 2017

How to Pickle Walnuts - part 2

So my green walnuts have been soaking in brine for a week, and now I am draining them and soaking them in a clean brine solution for another week.  You can see already that parts of the walnuts are already turning black.  Again, this black dye that comes out of the walnuts really does stain, so please wear gloves when handling them.  Next stage happens in one more week.

Tuesday, June 13, 2017

How to Pickle Walnuts - Part 1

 For a number of years now I have been intending to do this but have never managed to get around to Pickling Walnuts.  One of the main reasons is that the window of opportunity is quite small.  The green or unripe walnuts have to be just the right size, but in only a couple of weeks the hard shell will begin to form inside the green outer layer and you cannot pickle them. 
 So early this morning I managed to find a walnut tree that was low enough to reach.  I picked a couple of pounds, about half a carrier bag full.  One unexpected thing was the perfume coming from the tree and the walnuts as I picked them.  Hard to explain, but it was a wonderful, floral fragrance almost a cross between Jasmine and spinach!... Really lovely actually!
 This is what the inside of a green walnut looks like.  It is recommended that you push a needle into the walnut just to check that the hard nut shell has not formed.  You will not be able to use them if it has formed - obviously!   I washed them thoroughly and gently topped and tailed them - cutting off any stems, stalks so they are tidy and smooth.
 You MUST wear gloves when cutting and handling green walnuts.  There is a juice which comes out of them which is bright yellow in colour, but this is used as a dye!!!  Your hands will turn dark brown or black if you get this juice on them.  I used a small desert fork to prick a series of holes into each walnut, the liquid sometimes squirts out!  You can feel that each one does not have a shell forming, and it enables the brine solution to penetrate each walnut fully.
I made about 4 pints of brine using 200g salt.  The pricked green walnuts will be left in this first brine solution for ONE WEEK!  Then they will be drained, and placed in another clean brine for ANOTHER WEEK!.. so I will update you when I am ready to proceed with the next stage.

Monday, June 12, 2017

Coming Along Nicely

 These lovely long days are bringing on everything in my courtyard garden.  This Tayberry is starting to ripen now.  A Tayberry is a cross between a Raspberry and a Blackberry.  I am eating these every day straight from the plant so that the birds don't get  there before me.
 Without the aid of a greenhouse these Sungold cherry tomatoes are just beginning to ripen.  These really are one of the best tasting tomatoes.  Even though they are an F1 variety and seeds can be costly, they really are worth it.
 This little cucumber Carmen , is growing bigger by the day. There is a cucumber on every single leaf joint so if I can keep it well fed and watered it is going to be quite prolific.
 I have a Morello cherry tree up against the West facing brick wall of the house.  I have bought some netting to cover them.  The will start to ripen to a dark purple almost black colour soon.  Must get a move on and get all that netting up.
 Still early days yet but this bush courgette Romanesco is just beginning to show.   Again, a really prolific bush variety from Seeds of Italy.   Experience as well as trial and error have shown me which varieties of fruit and veggies grow well for me in my own situation.
In between the tomato plants in the grow bags I have planted quite a few clumps of Genovese Basil.   These make good companion plants as well as making a tasty accompaniment to tomato!
Romanesco Courgettes do well in this South facing container up against a brick wall.  As long as they are fed and watered, they will do well here.

Thursday, June 01, 2017

How to Make Elderflower Cordial

Elderflowers are everywhere at the moment!  It does seem to be a good year for them and you can see these fragrant flowers almost everywhere.

 
So now is the time, and the season is quite short, to make elderflower cordial.  It is really simple.
 
 You will need about 30 or so flower heads.  Snip the heads off with a pair of scisors leaving the minimum single stem on the plant.  I picked mine early morning after overnight rain so they were fairly clean.   Take them home in a carrier bag, then leave them out on a tray for a while to let any live critters walk out.  Gently wash the heads if you need to, don't worry about the odd critter left, they will be strained out.
 Boil 3 pints of water and pour over 2lbs white sugar in a saucepan.  Stir until the sugar has disolved.  Take 5 lemons, peel the zest off and strain the juice which you will set aside.  Chop up the lemon pith and everything else and put in the sugar mix.
 Place the elderflower heads into the sugar and lemon mix and give them a stir to mix.  Cover and leave overnight for the flavour to develop.   Overnight when the mixture has cooled, then add all the lemon juice and 2 spoons of citric acid.  This helps preserve the cordial a bit longer and give it a good flavour. Stir in the citric acid until it has disolved in the syrup.

 Strain the juice through a sieve and a muslin.  You can use a jelly bag, or even some coffee filter paper if you like.  You just need to strain out the flowers and perhaps some of the pollen to make the syrup a bit clearer.
Sterilise some bottles with boiling water and store the cordial in the fridge.  It will last a couple of weeks.  Dilute it to taste and enjoy!

>